Solar Panel Mounting Rails: Installation Guide for Homeowners
Quick Answer
Solar panel mounting rails are the metal tracks that hold rooftop solar panels in place and carry roof loads back into approved attachment points. In residential work, rail attachments are often spaced in the 4 to 8 foot range as a field estimate, but that number is not a rule. The real spacing comes from the racking manufacturer’s tables, the roof framing, the wind and snow loads, and the panel layout. The real decision is simple: will this rail system be compatible, flashed correctly, bonded correctly, and designed for this roof?
What mounting rails do
Mounting rails give the solar panels a straight, secure surface to clamp to. They also connect the panels to the roof attachments, help keep the array aligned, and often form part of the grounding and bonding system.
Why rail layout matters
A poor rail layout can create real problems. Not just crooked panels. The bigger risks are missed rafters, weak spans, bad flashing, wrong clamp locations, and incomplete bonding. Those are installation defects, and they can be expensive to fix after the panels are already installed.
When to ask for specs
Ask for rail details before installation if the roof is tile, metal, low-slope, steep, exposed to high wind, in a snow zone, or if the quote does not name the racking brand. A solid installer should be able to tell you the rail model, attachment type, flashing method, and how the layout was designed.
What Mounting Rails Are
Rails, attachments, and clamps
A solar mounting rail is usually an aluminum track that runs under a row of panels. It may run horizontally or vertically depending on the panel layout. By itself, the rail is only one piece of the mounting system.
The full assembly includes roof attachments, L-feet or standoffs, flashing, mid clamps, end clamps, rail splices, grounding lugs, and bonding hardware. Every piece has a job. The rail supports the panels. The roof attachment connects the rail to the building. The clamps hold the panel frame. The flashing protects the roof penetration. The bonding hardware helps maintain the electrical grounding path.
Most people miss this part: solar rails are not generic metal bars. They are part of a tested mounting system. If an installer swaps hardware because it “fits,” that does not automatically mean it is approved.
How rails transfer loads
Solar panels sit on the roof for decades, exposed to wind uplift, snow pressure, rain, heat, cold, and vibration. The rails spread those forces across multiple roof attachment points. Those attachment points then carry the load into rafters, trusses, decking, or another approved structural base.
This is why rail span matters. A rail that works at one spacing on a low-wind roof may need closer attachments on a roof with higher wind exposure or heavier snow load. Manufacturer span tables exist for a reason. Guessing is not design.
Why aluminum and compatible hardware matter
Residential solar rails are commonly made from aluminum because it is light, corrosion resistant, and easy to form into engineered shapes. But the rail is only as reliable as the parts used with it.
Stainless hardware, approved clamps, bonding washers, splices, lugs, and roof attachments all need to match the system requirements. Mixed parts can create structural, corrosion, grounding, or warranty problems. It may not show up on day one. It can show up later, during inspection, service, or a roof leak dispute.
How Rails Are Installed
Mark the array layout
The crew starts by transferring the approved panel layout onto the roof. That layout controls where the rows go, where the rails go, and where the attachments need to land.
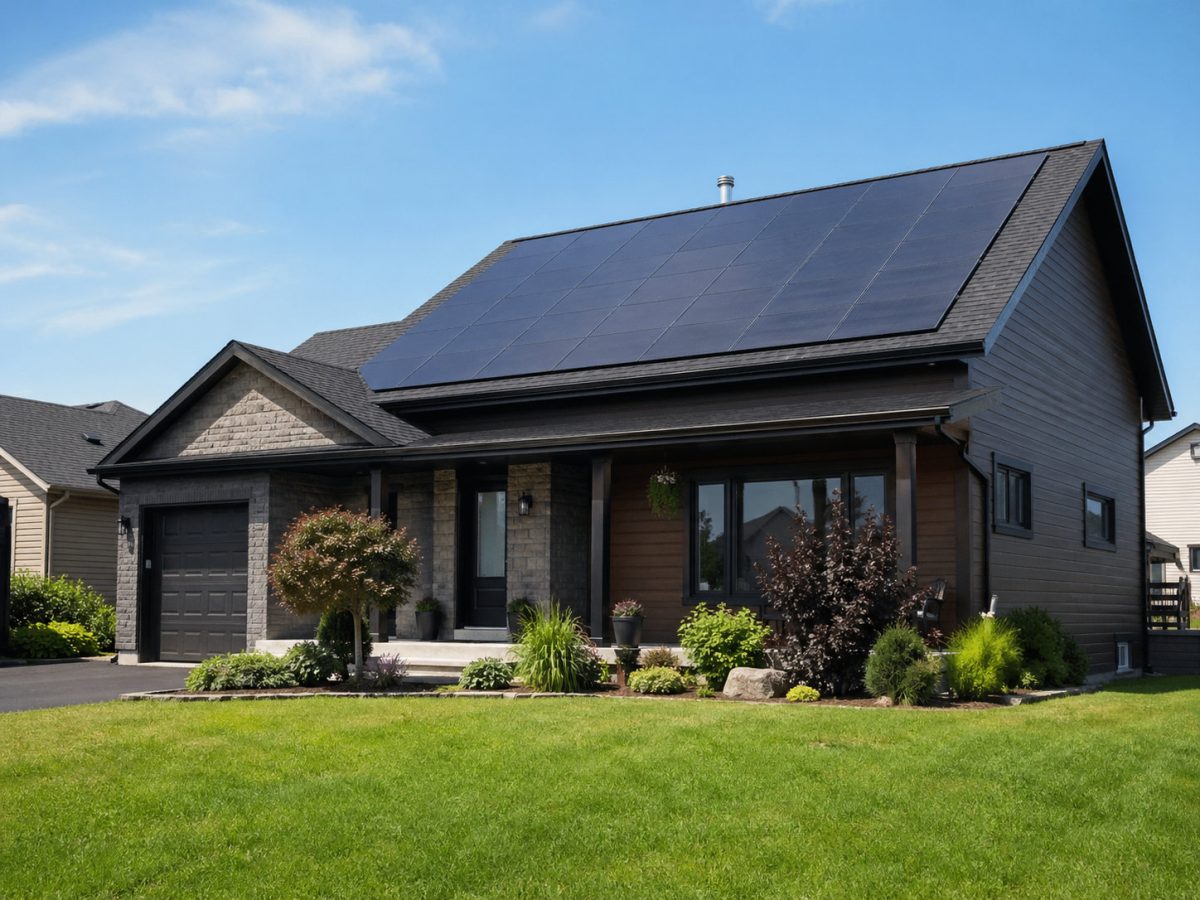
On framed roofs, installers usually need to locate rafters or other approved attachment points. That may involve snapping layout lines, measuring from known framing locations, and drilling pilot holes. Some racking instructions call for specific pilot hole sizes. Others use different requirements. The important thing is that the crew follows the mounting manufacturer’s instructions, not jobsite habit.
Install flashed roof mounts
The roof attachments go on before the rails. On asphalt shingle roofs, that usually means flashed mounts or flashing-integrated attachments. Pilot holes may need approved sealant. Flashing must be placed so water sheds properly around the penetration.
Tile roofs are different. Metal roofs are different. Low-slope roofs are different. This is where problems usually start when a crew uses the same thinking on every roof. The rail may be similar, but the roof attachment and waterproofing detail are not.
Set and level rails
After the mounts are secure, the rails are attached to the brackets, L-feet, or standoffs. Then the installer adjusts them so the panels sit in a clean plane. Roofs are not perfectly flat. Some manufacturer guidance flags roof undulations around 1 inch or more because uneven areas can affect rail placement and panel alignment.
Straight rails are not just about looks. If the rails are out of plane, clamps may not sit correctly and panels can be forced into a twisted position. That is hard on module frames.
Bond and ground rails
Many rail systems use listed bonding hardware to connect panels, rails, splices, and grounding parts. Some manufacturer diagrams call for a minimum 10 AWG copper grounding conductor in specific configurations, but the final design has to match the approved system and local electrical requirements.
Bonding hardware is easy to overlook because it often looks like ordinary hardware. It is not. A missing bonding jumper, wrong washer, or substituted clamp can create an inspection problem and may require rework.
Attach modules correctly
Panels should be installed only after the rails are aligned, secured, and ready. The clamps must land in the panel manufacturer’s approved clamp zones. A panel frame is not designed to be clamped wherever the rail happens to sit.
Portrait and landscape layouts can change rail location. Different panel models can also have different clamp requirements. A clean-looking array can still be wrong if the rails do not line up with the approved clamp zones.
Rail Attachment Spacing
Why spacing changes
A practical field estimate for residential rail attachment spacing is often around 4 to 8 feet. Treat that as a rough planning range only. It is not a design answer.
The correct spacing depends on the rail model, roof attachment type, roof slope, roof structure, wind exposure, snow load, panel size, and manufacturer tables. In a snow region, downward load may drive the spacing. In an exposed wind area, uplift may be the bigger issue. On some roofs, the attachment capacity is the limiting factor. On others, the panel clamp zone controls the rail location.
Why installers should not guess
Guessing rail spacing is a bad shortcut. If the rail span is too long, the rail can flex beyond its intended limit. If the cantilever at the end of a row is too long, the last attachment takes extra stress. If the crew misses framing where framing is required, the array may not be anchored the way the design assumes.
| Design factor | Why it affects rail spacing | What to verify |
|---|---|---|
| Rail model | Different rails have different span and load ratings | Manufacturer span table or design tool |
| Roof attachment | Rafter-mounted and deck-mounted attachments may have different capacities | Approved attachment type for the roof |
| Wind zone | Higher uplift may require closer attachments | Permit design or stamped engineering |
| Snow load | Higher downward load can shorten allowable spans | Local design load assumptions |
| Module clamp zone | Rails must land where panels can be clamped | Panel installation manual |
The practical takeaway is blunt: the installer should be able to explain the spacing. If the answer is “we always do it this way,” keep asking.
What homeowners should ask
Ask this directly: “What rail span table, design tool, or engineered plan are you using for my roof?” That question cuts through vague assurances. It forces the conversation back to the actual mounting design.
In the field, rail spacing mistakes usually get noticed too late. Once the roof is drilled and the panels are staged, nobody wants to redesign the layout. Ask about span tables before the crew starts putting holes in the roof.
Roof-Type Installation Details
Asphalt shingle roofs
Asphalt shingle roofs are common for residential solar, and rails can usually be installed cleanly when the roof is in suitable condition. The key detail is the roof penetration. Each attachment needs the right flashing, fastener, sealant, and seating.
A rail can look perfectly straight while the flashing underneath is wrong. That is the part homeowners cannot always see from the ground. If a leak shows up later, the attachment detail is one of the first places to check.
Tile roofs
Tile roofs require more care. Installers may use tile hooks, replacement flashing, standoffs, or other tile-specific bases. Some tiles need to be removed or cut so the mounting hardware does not press directly on the tile.
Treating tile like asphalt shingle is asking for trouble. Cracked tiles, poor clearances, and bad flashing details can turn into roof leaks and service calls. Tile work takes more time because it should.
Metal roofs
Metal roofs vary. Standing seam roofs may use seam clamps if the seam profile is compatible. Corrugated or exposed-fastener metal roofs may need profile-specific brackets or attachments.
The rail still supports the panels, but the roof connection changes. The attachment must match the metal roof profile and the structure below it. A clamp or bracket that works on one metal roof may not be correct for another.
Low-slope roofs
Low-slope roofs are all about waterproofing. These roofs may use membrane-specific attachments, curbs, pitch pockets, or flashed bases. Some systems include very specific flashing sizes and methods.
Water moves slowly on low-slope roofs. Small errors can sit wet for a long time. For this roof type, the mounting rail design and the roofing detail need to be treated as one system.
Rail Direction and Clamp Placement
Portrait vs. landscape
Panel orientation changes rail placement. In portrait layouts, rails commonly cross the shorter dimension of the panel. In landscape layouts, the rail positions often shift because the clamp zones change.
That means two quotes with the same panel count may still have different rail layouts. Do not assume they are mechanically equal just because both show the same number of panels.
Clamp zones must match
Panel manufacturers specify where the frame can be clamped. Those zones are based on testing, frame strength, and load ratings. If the rails land in the wrong place, the clamps may sit outside the approved area.
That can create frame stress or warranty trouble. It is also a hard defect for a homeowner to catch after the system is finished. The better time to verify clamp zones is during layout.
Rail cantilevers at edges
The part of the rail that extends past the last roof attachment is the cantilever. Every rail system has limits on it. Too much overhang creates leverage at the end of the row.
This matters most at array edges, where wind forces can be stronger. Cantilever limits should come from the racking documentation, not from what happens to line up neatly with the panel edge.
Expansion Joints Over 100 Feet
Why aluminum rails move
Aluminum expands and contracts as temperatures change. On many small residential arrays, this movement is handled within the normal mounting system. On long continuous rail runs, manufacturers may require expansion joints.
This is more relevant on long roof sections, garages, barns, multifamily roofs, and larger residential arrays. A small two-row system may never come close to the threshold. A long uninterrupted row might.
The 100-foot rule
Some IronRidge flush-mount instructions call for expansion joints every 100 feet of continuous rail. With certain HUG attachment installations, the threshold can be 60 feet. The detail may include a 1-inch rail gap.
Those numbers are not universal across every racking brand. They are product-specific. The point is that long rail runs need to be checked against the actual manufacturer’s instructions.
No modules over joints
Panels should not bridge a required expansion joint. If a module is clamped across two rail sections that are supposed to move separately, the joint cannot do its job.
On long rows, this is a simple but important inspection point. If there is an expansion gap, the panel layout has to respect it.
Torque, Bonding, and Grounding
Torque around 300 in-lbs
Some common rail-to-attachment connections list torque values around 300 in-lbs, or about 25 ft-lbs, depending on the component and manufacturer. Other parts may require different values.
Do not treat one torque number as universal. The safe answer is to use the value printed in the racking instructions for that exact hardware. “Tight enough” is not a specification.
Over-tightening and under-tightening
Under-tightened hardware can loosen, shift, or fail to maintain bonding. Over-tightened hardware can strip, deform, or damage components. Both are bad.
On a roof, fixing torque-related mistakes can mean removing panels to reach the hardware. That turns a small installation shortcut into a labor problem.
Bonding hardware connections
Bonding hardware creates electrical continuity between parts of the mounting system. It may connect panel frames to rails, rail sections to each other, or rails to grounding conductors.
Some bonding washers or clips are designed to bite through coatings. Others rely on specific hardware geometry. If a substitute part looks similar but is not approved, it may not perform the same job.
Mixed hardware risks
Mixed hardware is one of those shortcuts that can look harmless. A clamp fits. A bolt tightens. The rail holds. But inspection and long-term reliability are not based only on whether parts physically fit.
Rails, clamps, splices, roof attachments, and grounding lugs should be part of an approved compatible assembly. Ask for that confirmation before the job starts.
Common Installation Mistakes
Missing rafters
If an attachment is supposed to land in a rafter, missing the rafter changes the job. Some products have approved deck-mounted methods, but that is not the same as accidentally missing framing.
The financial risk depends on when the mistake is found. Early, it may mean patching and relocating an attachment. Late, it can mean panel removal, added mounts, roof repairs, and engineering questions.
Poor flashing placement
Flashing mistakes are among the biggest roof-related risks in rail installation. The rail can look fine while the roof penetration below it is wrong. Misaligned flashing, unsealed pilot holes, poorly seated washers, and bad water-shedding details can all create leak paths.
Leaks are especially frustrating because responsibility can become disputed between roofing and solar work. Clear installation details help prevent that argument.
Excessive rail spans
Overextended rail spans may not fail right away. That is why they are easy to miss. The system can look normal until heavy snow, high wind, or years of movement expose the weak point.
Correcting long spans after installation often means removing panels, adding attachments, patching unused holes, and realigning rails. It is much cheaper to design the spacing correctly before drilling.
Wrong clamp zones
Wrong clamp zones usually happen when the rail layout is driven by roof convenience instead of the panel manual. The panel may still feel secure, but that does not mean the frame is supported as tested.
- Check that rail spacing matches the panel manual.
- Confirm portrait or landscape layout before drilling starts.
- Ask whether clamp zones were checked for the exact panel model.
- Look closely at edge clamps that appear too close to panel corners.
Missing expansion joints
Missing expansion joints are not common on every small home array, but they matter on long rail runs. If the manufacturer requires a joint, the rail needs the specified gap, and panels should not bridge that gap.
Loose bonding hardware
Loose bonding hardware can create both mechanical and electrical problems. A rail connection can look assembled but still fail to provide the intended grounding path.
This is why torque, compatible hardware, and inspection photos matter. The details are small, but the consequences are not.
| Mistake | Why it happens | Likely consequence | Financial risk |
|---|---|---|---|
| Attachment spacing guessed | Crew skips span tables | Overstressed rail or attachment | Panel removal and added mounts |
| Flashing poorly installed | Speed or wrong roof method | Leak at penetration | Roof repair and liability dispute |
| Wrong clamp zone | Rail layout not matched to module | Frame stress or warranty issue | Module replacement or rework |
| Mixed hardware | Parts shortage or substitution | Bonding or listing problem | Inspection delay or correction |
| No expansion joint | Long rail run overlooked | Thermal movement stress | Rail and panel reconfiguration |
The main lesson: most rail mistakes are created before the panels ever go on. Layout, attachment choice, flashing, and hardware selection set the risk level.
Reviewing Proposal Rail Details
Ask for racking brand
A solar quote should identify the mounting system. At minimum, ask for the racking brand and rail model. If the installer cannot provide that, the proposal is thin.
You do not need to become a racking engineer. You just need enough detail to know what is being attached to your roof.
Ask about spacing
Ask how the attachment spacing was determined. A credible answer may mention a manufacturer design tool, span table, permit plan, or stamped engineering.
A weak answer sounds like this: “That is our standard spacing.” Standard for what roof? What rail? What wind load? What snow load? Those details matter.
Ask about flashing
Flashing should match the roof. A shingle roof, tile roof, metal roof, and low-slope roof do not use the same waterproofing details.
Ask what attachment and flashing method will be used. This is one of the most important proposal questions, especially on tile and low-slope roofs.
Ask about wind and snow
Wind, snow, setbacks, roof height, and exposure can all affect rail design. You do not need to calculate the loads yourself, but the installer should have accounted for them.
If your roof is in a high-wind, coastal, mountain, or heavy-snow area, this question becomes more important.
Ask about approved components
Ask whether the rails, clamps, splices, grounding lugs, and attachments are part of an approved compatible system. That one question covers a lot: structure, bonding, inspection, and warranty.
It is a better question than asking whether the rails are “premium.” Premium is vague. Compatible and approved are useful.
Railed vs. Rail-Less Systems
Railed systems
Railed systems are common because they give installers adjustment room. Rails can help align panels across uneven roof surfaces and provide a consistent clamping surface.
They are not automatically better in every situation. But they are familiar, well documented, and widely used when installed correctly.
Rail-less systems
Rail-less systems reduce or eliminate continuous rails. They use the module frame and attachment points differently. They can reduce material and create a lower-profile look, but they demand more precision during layout.
That sounds cleaner, but it is not automatically simpler. With less rail adjustment, attachment placement has to be right the first time.
What matters most
The best mounting system is the one approved for the roof, the panel, the local loads, and the installer’s actual process. Railed and rail-less systems can both work. Both can also be installed badly.
| Mounting type | Best fit | Main installation risk | Homeowner question |
|---|---|---|---|
| Railed | Most standard residential arrays | Incorrect span, clamp, or bonding detail | Which rail model and span table are used? |
| Rail-less | Precise layouts with compatible modules | Less adjustment after attachments are placed | How is attachment alignment verified? |
| Shared-rail | Some compact array layouts | Panel replacement and spacing complexity | How are service access and clamp zones handled? |
Do not choose by appearance alone. Choose by roof fit, waterproofing, code approval, and installer experience with that specific system.
Pre-Installation Rail Checklist
Confirm rail brand
Get the racking brand, rail model, and attachment type in writing. This makes it easier to compare quotes and verify that the installed system matches the design.
Confirm engineered spacing
Ask whether the attachment spacing comes from manufacturer tables, a design tool, or engineering. Avoid any answer that treats every roof the same.
Confirm flashing details
Make sure the flashing method fits the roof material. Shingle, tile, metal, and low-slope roofs need different attachment details.
Confirm clamp zones
The installer should verify clamp zones for the exact panel model. This is especially important when the layout changes from portrait to landscape or when two quotes use different panel sizes.
Confirm grounding and expansion
Ask how the rails will be bonded and grounded. Also ask whether any long rail rows need expansion joints. Many small arrays will not, but long continuous rows should be checked.
- Racking brand and rail model identified.
- Attachment spacing based on manufacturer data.
- Roof-specific flashing method documented.
- Panel clamp zones verified.
- Grounding and bonding hardware included.
- Expansion joints checked for long rows.
FAQ
How far apart should solar rails be?
There is no single spacing that applies to every roof. A common field estimate is about 4 to 8 feet between attachments, but the correct spacing must come from the racking manufacturer’s tables, design software, or engineered plan. Rail type, attachment type, wind load, snow load, and panel layout all matter.
Do mounting rails cause roof leaks?
The rails themselves usually are not the leak source. Leaks are more likely to come from roof attachments that were drilled, sealed, flashed, or fastened incorrectly. The attachment detail matters more than the rail shape.
Can panels be installed without rails?
Yes. Rail-less systems exist, and they can work well when designed and installed correctly. The decision should be based on roof type, panel compatibility, code approval, wind and snow loads, and installer experience.
Are rails different for tile or metal roofs?
The rails may be similar, but the attachments are different. Tile roofs may need hooks, standoffs, or replacement flashing. Metal roofs may need seam clamps or profile-specific brackets. The roof connection is the part that changes most.
What should I check before panels go on?
Check that the rails are straight, the attachments are flashed, the hardware is compatible, the spacing matches the approved design, and any required expansion joints are in place. Also ask whether the clamp zones were checked for the exact panel model.