How Solar Panels Are Installed on Your Roof
Quick Answer: Roof-Mounted Solar Basics
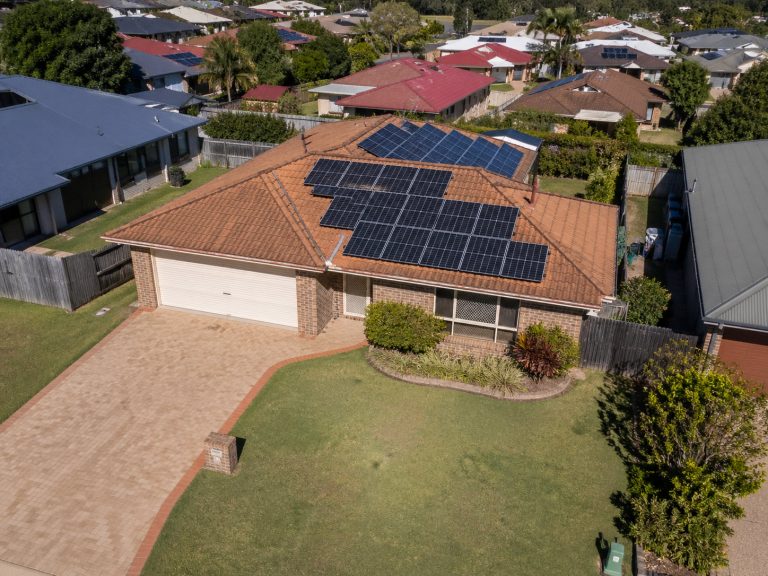
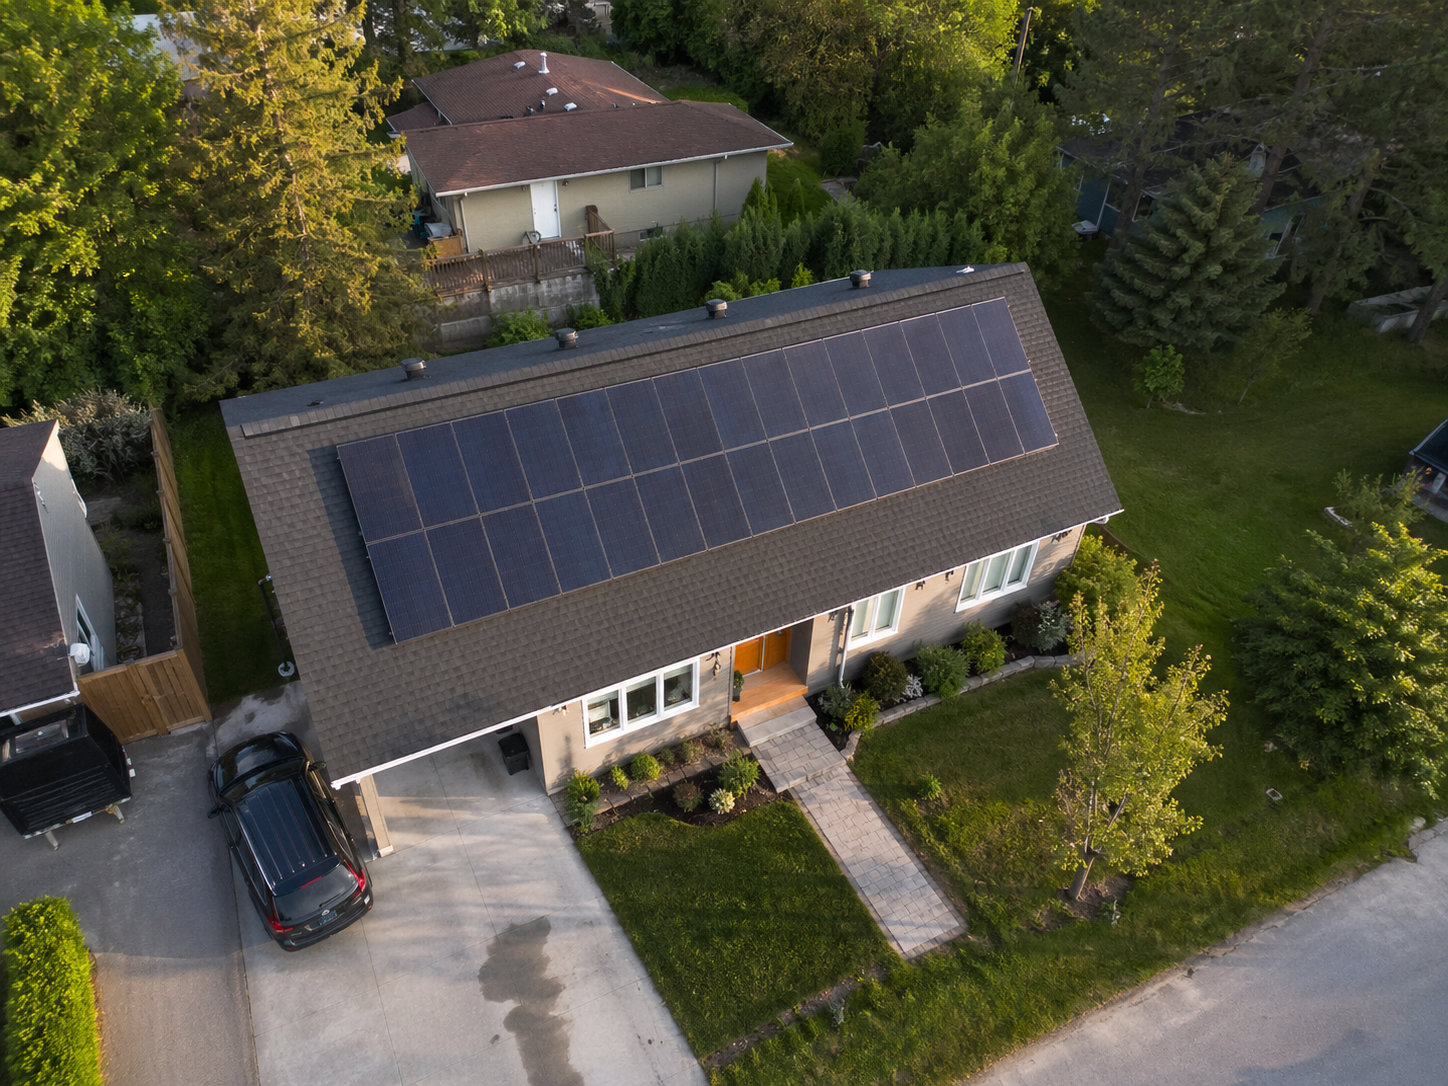
Solar panels are mounted on a roof by fastening an engineered racking system into the roof structure, sealing each roof penetration, clamping the panels to rails, routing rooftop wiring safely, and passing inspection before the system is turned on. For many standard homes, the roof work itself is often finished in about 1–3 days. The slow part is usually not the crew on the roof. It is permitting, inspection, and utility approval, which can add days or weeks depending on the local process. The real decision is whether the roof, attachment plan, flashing method, and inspection path are solid enough to avoid leaks, rework, and activation delays.
The Roof-Mounting Process
Installer Checks Structure and Layout
A good solar roof installation starts before anyone carries a panel up a ladder. The installer should look at the roof surface, framing direction, sheathing condition, obstructions, usable roof planes, access paths, and required setbacks. This is not paperwork for the sake of paperwork. It decides where the system can actually be anchored.
Most roof-mounted residential systems use engineered rails, mounts, flashing, and clamps. Those parts are designed to work as a system. They need to be installed according to the manufacturer’s instructions and the approved permit plans. When crews start changing layout in the field without updating the plan, inspection problems are not a surprise.
Why 2–4 Pounds Matters
A typical rooftop solar array adds an industry-estimated 2–4 pounds per square foot of distributed dead load. Many planning references use roughly 3 pounds per square foot for panels and racking. That number alone usually is not what makes or breaks the project.
The bigger issue is how that load is transferred into the roof. Permit reviewers may look at distributed load, point load, roof height, mount spacing, fastener size, fastener embedment, wind exposure, and snow load where relevant. The system is not just sitting on top of the house. It is mechanically tied into the structure and has to stay there through heat, wind, rain, and long-term movement.
Mounting Plan Shows Key Details
The mounting plan should show panel placement, rail direction, attachment locations, roof access pathways, setbacks, equipment locations, and racking details. A homeowner does not need to engineer the system, but they should be able to ask basic questions: Where do the mounts go? How are they flashed? How does the installed layout match the approved plan?
Most people miss this part. A vague plan pushes too many decisions onto the roof crew. That is when attachment locations get improvised, wiring routes get messy, and clearances around vents or roof edges get squeezed.
Step 1: Roof Assessment
Checking Rafters, Sheathing, and Attachments
The roof assessment should confirm where rafters or trusses are located, whether the sheathing is sound, and whether the roofing material can be mounted and flashed without creating a weak point. For penetrating mounts, attachments should land in structural framing or another approved structural support. Shingles, tiles, and underlayment are not the structure.
In the field, roof attachment quality is one of the fastest ways to spot the difference between a careful installation and a risky one. The mount has to hold the array down and keep water out. If either part is treated casually, the homeowner inherits the problem.
When Roof Condition Changes the Plan
Roof condition can change the installation plan even when the roof looks fine from the driveway. Soft decking, brittle tile, worn shingles, previous leak areas, sagging sections, or hard-to-locate framing can force a layout change or roof repair before mounting begins.
This is not a full roof replacement discussion. The point is narrower: the racking system is only as dependable as the roof surface and structure it is attached to. A quick visual check is not always enough. If the roof is marginal, the problem usually shows up when drilling, flashing, and rail alignment begin.
Why Loads Are Reviewed
Roof-mounted solar is commonly reviewed for dead load, point load, wind load, and, in some regions, snow load. Dead load is the weight of the system. Point load is the concentrated load at attachment points. Wind load matters because panels can catch uplift forces. Snow load matters where snow accumulation is part of the structural design.
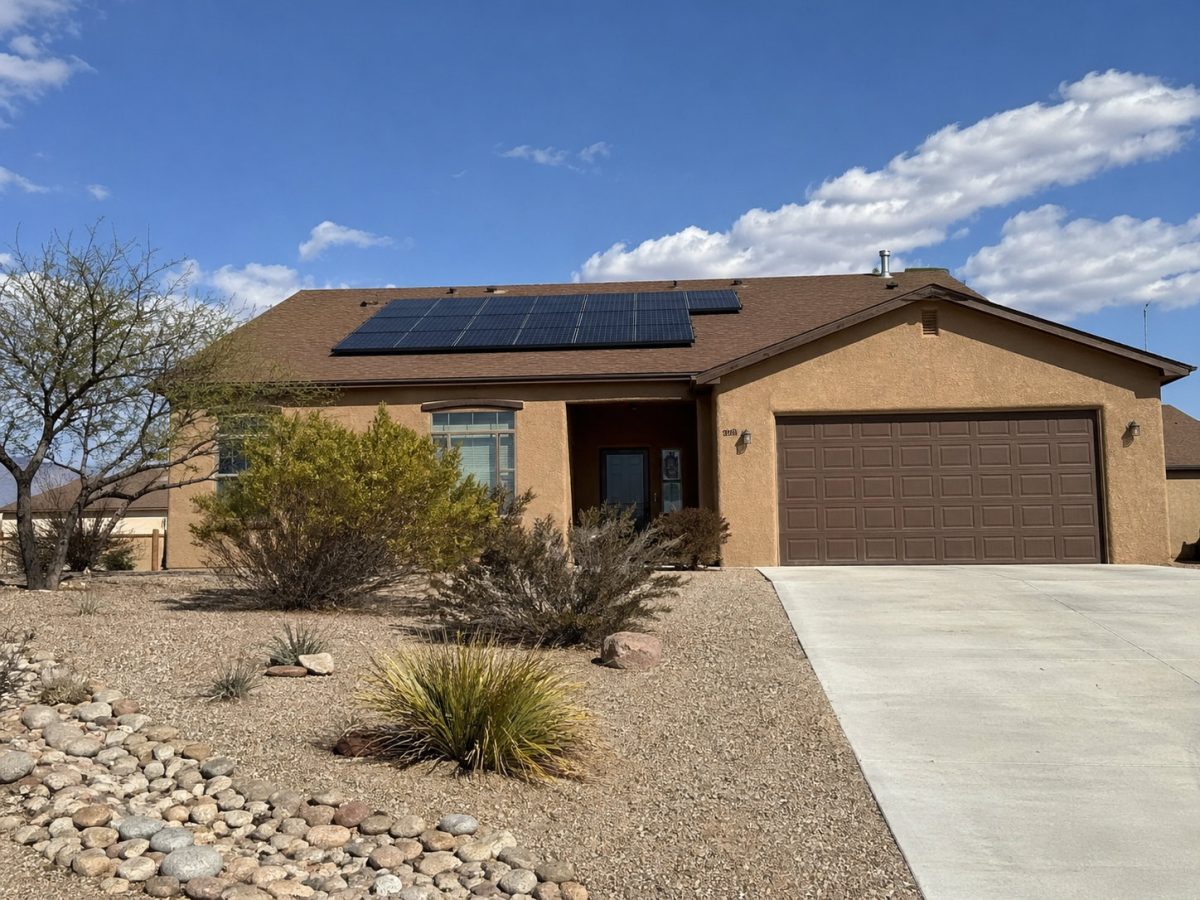
The homeowner does not need to calculate these values. The installer or engineer should handle that. But the permit package should include the roof-related details required by the local authority. If the plans are missing load assumptions, mount spacing, roof height, or attachment details, the project can stall before installation or fail after the work is done.
Step 2: Permits and Documentation
What Installers Submit First
Before panels are mounted, the installer usually submits a permit package to the local authority. A roof-mount package commonly includes the site plan, roof layout, panel count, system size, equipment specifications, racking details, attachment method, structural notes, access clearances, and electrical drawings. Some cities are strict about sheet size, signatures, dates, and equipment documentation.
The roof portion of that submittal is not a minor detail. It is where reviewers check whether the array layout, racking, roof structure, and code clearances work together.
| Permit Item | Why It Matters | Risk If Missing |
|---|---|---|
| Panel layout | Shows roof placement, obstructions, and array boundaries | Rejected plan or field re-layout |
| Racking attachment details | Shows how the system connects to the roof | Structural review delay |
| Mount spacing and lag embedment | Confirms attachment strength assumptions | Engineering revision or failed review |
| Ridge and eave setbacks | Supports fire access and code compliance | Inspection failure or panel removal |
| Equipment cut sheets | Confirms listed components and compatibility | Permit or inspection rejection |
The practical standard is simple. The roof plan should be specific enough for the crew to build from and specific enough for the inspector to verify. Anything less creates room for mistakes.
Mounting Details Inspectors Review
Inspectors usually compare the installed work to the approved plans. On the roof, they may check anchor spacing, fastener type, fastener embedment, weather sealing, wire management, labels, access pathways, setbacks, and rooftop equipment placement. They may also look for conductors resting directly on the roof surface.
Here is the awkward part: many roof details are hidden once panels are installed. A bad flashing detail or missed attachment can be buried under the array. Fixing it later may require removing panels and rails just to reach the problem.
Permits Can Add Time
The actual roof installation may be quick. The full project often is not. Permitting, inspection scheduling, and utility approval vary by local authority and utility. Some jobs move fast. Others sit in a queue.
Homeowners often expect the panels to be turned on the day the crew leaves. That is not how many grid-tied projects work. The array may be installed but inactive until inspection and utility permission are complete.
| Stage | Typical Reality | Homeowner Risk |
|---|---|---|
| Roof installation | Often 1–3 days for standard homes | Weather or access delays |
| Permit review | Can take days to weeks | Incomplete plans delay the start |
| Final inspection | Depends on local scheduling | Plan mismatch can require rework |
| Utility approval | Required before operation in many grid-tied systems | Installed system may not be active yet |
The useful takeaway is that installation date and activation date are different milestones. A good quote or project schedule should make that clear.
Step 3: Laying Out the Array
Marking Rows, Rails, and Attachments
Once work starts, the crew lays out the array on the roof. They mark rail lines, attachment points, panel rows, and equipment locations. The layout should follow the approved plans while still accounting for real conditions on the roof: vents, ridges, valleys, skylights, soft areas, and safe worker movement.
Small layout errors can create big headaches. A rail line that is off by a little can affect panel alignment, attachment spacing, wire routing, or clearance from the roof edge. Clean mounting starts with accurate layout, not with the first panel.
36-Inch Fire Pathways
Residential rooftop layouts often need fire access pathways. Many jurisdictions use 36-inch roof pathways in certain locations so emergency crews can move across the roof. The exact rule depends on the local code, roof shape, and local interpretation.
These pathways can reduce the number of panels that fit. That is not poor design. It is code-compliant design. If a proposal fills every open roof area with panels and does not show access paths, ridge setbacks, or edge clearances, that layout may not survive permit review.
Ridge Setbacks Change Placement
Ridge setbacks can also affect where panels are allowed. Some code guidance uses 18 inches at the ridge when arrays cover 33% or less of the roof area and 36 inches when they cover more than 33%. Local rules can differ, so the authority having jurisdiction gets the final say.
The installation point is straightforward: setback space is not optional space. It affects panel count, rail placement, and the final appearance of the array. When comparing quotes, ask whether the panel count already accounts for required setbacks or assumes the whole roof plane is usable.
Step 4: Roof Attachments
Flashing and Sealants Prevent Leaks
Every roof penetration is a possible leak point. A proper installation uses roof-appropriate flashing, approved sealants, mount bases, and manufacturer-specific steps. On asphalt shingle roofs, flashing should work with the roof layers so water sheds over the penetration instead of relying on exposed sealant alone.
Caulk is not a complete waterproofing plan. Sealants age. They move. They fail. Flashing and correct installation geometry do the real work. In the field, leaks around solar mounts usually trace back to rushed penetrations, poor flashing integration, missed framing, or sloppy repairs after layout changes.
Do not judge roof-mounted solar only by how straight the panels look from the street. The important workmanship is under the array: attachment placement, flashing, fastener embedment, and wire management. Those details decide whether the system stays dry and serviceable.
Attachments Must Hit Framing
For penetrating mounts, the attachment should be fastened into rafters, trusses, or another approved structural support. The roofing material is not enough. Shingles, tiles, and underlayment are there to shed water, not to hold down a solar array.
Missing the framing creates two problems. The mount may not have the intended pull-out strength, and the installer has still made a hole in the roof. Now that hole has to be sealed even though it did not provide the connection it was supposed to provide. That is how one small miss becomes structural rework and leak risk at the same time.
Differences by Roof Type
Roof type changes the mounting method. Asphalt shingle roofs commonly use flashed penetrating mounts. Tile roofs may need tile hooks, tile replacement flashing, or other tile-compatible hardware. Some metal roofs can use clamps or brackets, depending on the seam or panel profile. Flat roofs may use penetrating or ballasted systems, depending on the design.
The useful question is not “Which roof is best for solar?” That belongs in a different article. The useful question here is: Which mounting method will be used on this roof, and is it approved for this roof material?
| Roof Condition | Mounting Concern | Practical Question |
|---|---|---|
| Asphalt shingle | Flashing quality at penetrations | How will mounts be flashed? |
| Tile | Broken tiles and specialty hardware | Will tile-compatible mounts be used? |
| Metal roof | Clamp or bracket compatibility | Is the attachment approved for this seam or panel? |
| Flat roof | Waterproofing and ballast or penetrations | How is drainage protected? |
Different roof types should lead to different mounting details. If two quotes use different attachment methods, they are not quoting the same job.
Step 5: Rails and Racking
Rails Create the Mounting Base
Rails connect the roof attachments into a support structure for the modules. They create the plane the panels sit on and transfer loads back into the roof through the mounts. The rails, clamps, attachments, grounding method, and modules all need to be compatible.
Manufacturer instructions matter. Racking is not a box of generic metal parts. It has spacing limits, torque values, approved components, bonding methods, and installation sequences. Substituting unsupported hardware can create warranty trouble, inspection trouble, and safety concerns.
Rail Alignment Matters
Rails should be straight, supported, and aligned before modules go on. Poor rail alignment can twist panels, create uneven clamp pressure, or make the array look sloppy. More important, it can hide attachment problems if the crew tries to compensate later.
A good crew fixes alignment at the racking stage. Forcing panels into place is not craftsmanship. It is a warning sign.
Clamps Secure Against Wind
Mid-clamps hold adjacent panels along the rail. End-clamps secure the outside edges. Clamp placement and torque should follow the racking manufacturer’s instructions. Too tight can damage components. Too loose can allow movement.
Wind uplift is one reason these details matter. Panels are exposed surfaces on a roof. The racking system has to hold them through changing weather, not just on a calm installation day.
Step 6: Mounting the Panels
Panels Are Lifted and Clamped
After the attachments and rails are installed, the panels are lifted to the roof, placed on the rails, aligned, clamped, and connected. This part can look simple from the ground. It is not always simple on the roof.
Panels are large, awkward, and easy to damage if handled poorly. Roof pitch, access, weather, staging space, and crew experience all affect how cleanly the work goes. Bad layout, uneven rails, or poor wire planning usually shows up right here.
Standard Installs Often Take 1–3 Days
For many standard residential roof-mounted systems, the physical installation often takes about 1–3 days. Treat that as a typical range, not a promise. Steep roofs, tile roofs, complex layouts, poor access, weather delays, missing materials, or unexpected roof issues can stretch the schedule.
The better question is not just “How long will it take?” Ask what would delay the job and who pays for the delay. Damaged decking, broken tiles, missed framing, or layout conflicts should not become a surprise conversation halfway through the install.
What Installers Check Before Leaving
Before leaving the roof, the crew should check module clamps, rail connections, visible flashing, wire management, rooftop junction boxes, labels, and layout match. Conductors should be secured and kept off the roof surface. Loose rooftop wiring is a common problem because it can abrade against roofing material and fail inspection.
- Confirm panels are clamped and aligned correctly.
- Check that visible flashing is seated cleanly.
- Verify rooftop wires are secured and not resting on the roof.
- Compare the installed layout with the approved plan.
- Look for broken tiles, disturbed shingles, or visible roof damage.
A homeowner should not climb onto the roof unless trained and properly equipped. Ask for photos instead, especially photos of attachments and flashing before the panels cover them.
Step 7: Wiring and Activation
Roof Wiring Routes
Roof wiring carries power from the array to rooftop junction boxes, inverters, optimizers, microinverters, or conduit paths, depending on the system design. For this topic, the key issue is physical routing, not electrical theory.
Wires should be secured, protected from abrasion, and kept away from sharp edges and roof surfaces. Rooftop connections and junction boxes should be suitable for wet locations. If wiring sags onto shingles or tiles, it can become both a service problem and an inspection problem.
Final Inspection Confirms the Work
The final inspection checks whether the system was installed according to the approved plans and code requirements. On the roof, the inspector may look at attachments, racking, wire management, access pathways, setbacks, labels, and equipment placement. The installed panel count and layout should match the permit documents.
Failed inspections are not always dramatic. Sometimes it is a missing label, an unsecured conductor, a layout deviation, or an inaccessible component. Still, any failed item can delay activation and require a return visit.
Utility Permission Comes Last
For many grid-tied residential systems, utility permission to operate is required before the system is turned on. That means panels can be fully mounted on the roof while the system is still inactive.
A contractor who implies the system can always be used immediately after installation is skipping an important step. Roof installation is one milestone. Activation is another.
Homeowner Checklist Before Mounting
Confirm Structural Review
Ask whether the installer reviewed the roof structure, framing direction, roof condition, and attachment spacing. The answer should be specific. “The roof looks fine” is not the same as confirming how the mounts will connect to the structure.
Ask About Flashing and Penetrations
Ask what flashing system will be used and how penetrations will be sealed. If the roof is tile, metal, or flat, ask what roof-specific attachment method applies. A good installer should be able to explain this without hiding behind the phrase “standard waterproofing.”
Review Layout for Obstructions
Look at the roof layout before work begins. Check where panels sit relative to vents, skylights, chimneys, ridges, valleys, roof edges, and service areas. Also ask whether the plan accounts for local fire pathways and setbacks.
Ask Who Handles Permits
Confirm who submits permits, who schedules inspections, and who handles utility interconnection. You should know whether the installation date depends on permit approval and whether the activation date depends on final inspection and utility permission.
Photograph the Roof
Photos help document roof condition before and after installation. They can be useful if there is later disagreement about broken tiles, disturbed shingles, flashing concerns, or access damage. Ask the installer for close-up photos of attachments before panels cover the work.
Risks and Mistakes to Avoid
Mounting Into Weak Decking
Mounting into weak decking instead of structural framing is one of the worst roof-mounting mistakes. It usually happens when layout is rushed, framing is missed, or the crew relies on the roof surface instead of verified structure.
The consequence can be weak anchoring, failed inspection, roof repair, or racking rework. The financial risk is not just one bad mount. If panels and rails have to come off to correct multiple attachments, the labor adds up fast. If the roof is damaged during the correction, roofing repair gets added to the mess.
Poor Flashing Causes Leaks
Leaks around solar mounts usually come from poor flashing, bad sealant work, skipped installation steps, or disturbed roofing material. The leak may not show up right away. It may appear after repeated rain, heat movement, freeze-thaw cycles, or ordinary roof expansion and contraction.
Leak diagnosis under a solar array is harder than normal roof leak work. Panels can block access. In some cases, part of the array has to be removed before a roofer can even reach the problem area.
Ignoring Fire Setbacks
Ignoring required access pathways or setbacks can cause a failed inspection or forced redesign. Homeowners sometimes see setbacks as wasted roof space. Installers see them as code requirements.
A layout can fit physically and still be wrong. If it blocks required access, the inspector can require changes.
Starting Before Permits
Starting roof work before permits are approved is a gamble. It can lead to stop-work problems, failed inspections, and plan conflicts. Even a well-built system can get stuck if the installed work does not match the approved documents.
Blocking Future Roof Service
Panel placement should leave reasonable access to vents, plumbing stacks, valleys, skylights, and service areas where possible. If the array blocks everything, a small roof or vent repair can turn into a solar removal project.
Removal and reinstall work is often priced per panel. Practical service benchmarks commonly run around $275–$300 per panel, with a 15-panel system around $4,125–$4,500 and a 30-panel system around $8,250–$9,000. These are not universal prices, but they show why poor layout can become expensive later.
Narrow Installation Cost Notes
Roof Complexity Adds Labor
This is not a full solar cost guide. Still, roof mounting can change the installation scope. Tile handling, steep pitch, difficult access, unusual framing, extra flashing work, structural engineering, or roof repairs can add labor or delay the job.
Existing systems add another cost issue when roof work is needed later. Broad home-service benchmarks often place complete solar panel removal in the $3,000–$12,500 range, depending on system size, access, and whether reinstall is included. Contractor benchmarks often price removal and reinstall around $275–$350 per panel. Treat those as service benchmarks, not guaranteed quotes.
Not a Full Quote Guide
Do not confuse roof-mounting complexity with total solar pricing. Cost per watt, financing, tax credits, payback, and equipment brand comparisons belong in a separate cost guide. For this installation topic, the key cost question is narrower: does the quote include the roof-specific work needed to mount the system correctly?
A cheaper quote may be missing scope. Look for exclusions around tile replacement, decking repair, engineering, steep-roof labor, special equipment, reroof coordination, or panel removal if roof work becomes necessary.
FAQ
Can panels be mounted without drilling?
Sometimes. It depends on the roof and mounting system. Many pitched residential roofs use penetrating mounts that must be flashed and attached to structural framing. Some standing seam metal roofs and flat-roof systems may allow non-penetrating or specialty methods, but the method has to be approved for that roof and racking system.
How do installers prevent roof leaks?
They use roof-appropriate flashing, approved sealants, correct fastener placement, and manufacturer installation methods. The key point is that waterproofing should not rely only on exposed caulk. The mount, flashing, and roof surface need to work together to shed water.
How long does roof mounting take?
The physical roof work often takes about 1–3 days for a standard residential system. That does not include permit review, inspection scheduling, utility approval, weather delays, or roof repairs found during installation.
Do panels make the roof too heavy?
Most rooftop systems add an industry-estimated 2–4 pounds per square foot, but weight alone is not the full issue. Review may also include point loads, attachment spacing, fastener embedment, wind load, snow load, roof height, and framing condition.
What happens after panels are mounted?
The system still needs final inspection and, for many grid-tied systems, utility permission to operate. Panels can be fully installed but not yet active. Activation usually comes after inspection and interconnection requirements are complete.