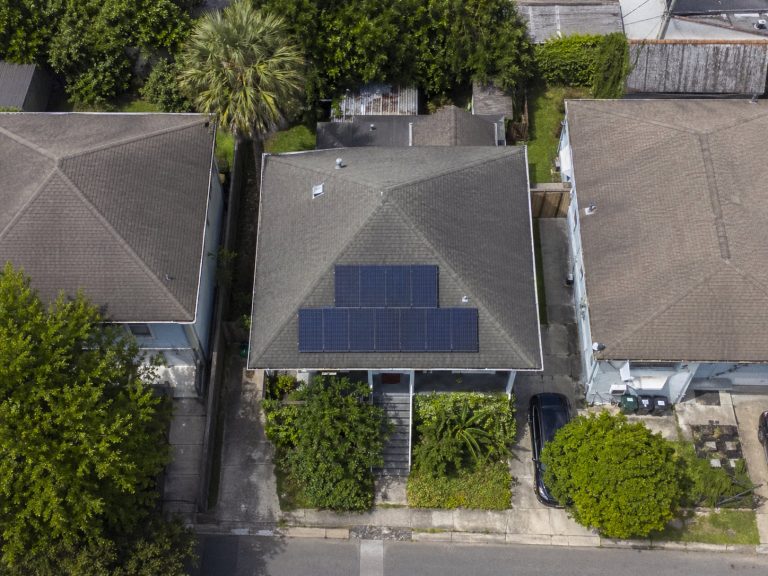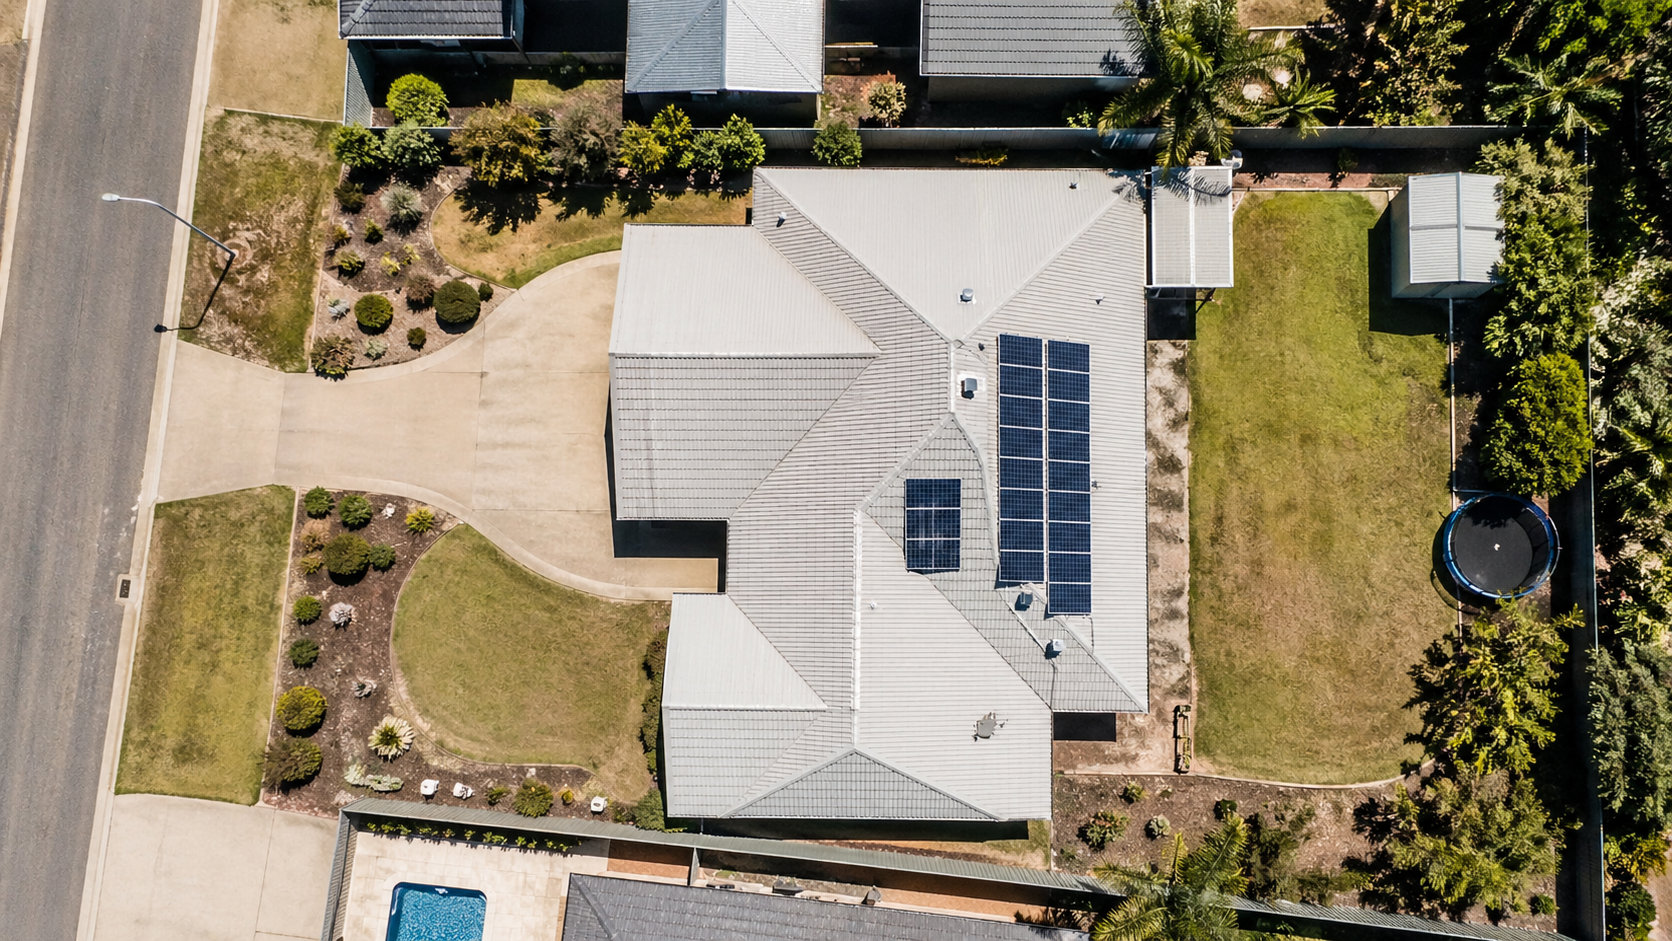
How to Estimate Solar Panel Capacity on Your Roof
Quick Answer
Typical Roofs Fit Fewer Panels Than Expected
Most roofs fit fewer solar panels than homeowners expect. A modern residential panel usually takes up about 17.5 to 18 square feet before you account for layout losses, but a more realistic planning number is closer to 20 to 30 square feet of usable roof area per panel. That extra space is where people get tripped up. Setbacks, roof edges, vents, skylights, chimneys, shade, and awkward roof shapes all reduce the real count. The right question is not “How big is my roof?” It is “How much clear, sunny, usable roof area do I have?” A 400-square-foot usable section might fit about 13 to 20 panels, but the final number depends on the actual roof.
Use 20–30 Sq Ft Per Panel
The raw panel footprint is only the starting point. A panel around 5.4 feet by 3.25 feet takes up roughly 17.5 square feet, but roofs are not spreadsheets. Panels need workable rows, edge clearance, room around obstructions, and sometimes fire-access pathways. For early planning, 20 to 30 square feet per panel is a better practical benchmark than using the bare panel size alone.
400 Sq Ft May Fit 13–20 Panels
If you have about 400 square feet of usable roof space, a reasonable planning estimate is 13 to 20 panels. With 400-watt panels, that works out to roughly 5.2 kW to 8.0 kW of DC solar capacity. Treat that as a range, not a promise. One plumbing vent in the wrong place, one ridge setback, or one shaded strip can knock the count down.
The Main Estimating Formula
Start With Usable Roof Area
Start with the part of the roof that can actually hold panels. Not the whole roof. Not the house square footage. Not the roof area you guessed from a satellite image.
Usable roof area means clear sections where panels can sit in complete rows with decent sun exposure and enough clearance to pass layout and code requirements. It excludes shaded areas, roof edges, narrow strips, valleys, skylights, chimneys, plumbing vents, dormers, and areas that may need to stay open for access.
In the field, this is the first big reality check. A roof can look large from the street and still have limited solar space once you break it into actual roof planes. One clean rectangular plane usually beats several chopped-up roof sections with the same total square footage.
Divide by 20–30 Sq Ft
Once you have a usable roof-area estimate, divide it by 20 to 30 square feet per panel. Use the lower end for a clean, simple roof plane with few obstructions. Use the higher end for a roof with hips, valleys, skylights, tight edges, or layout restrictions.
Here is the simple math. If one roof plane has 300 square feet of usable area, dividing by 20 gives a high-side estimate of about 15 panels. Dividing by 30 gives a more conservative estimate of about 10 panels. So the realistic early range is 10 to 15 panels.
That range is much more useful than saying, “A panel is 18 square feet, so I can fit 16 or 17.” That shortcut ignores the parts of the roof that cannot be used cleanly.
Multiply by 400 W
After you estimate panel count, multiply by panel wattage. Many residential designs use panels around 400 watts, although the exact rating depends on the model. This gives you a rough DC system size.
If the roof fits 15 panels and each panel is rated at 400 watts, that is about 6.0 kW DC. If it fits 18 panels, that is about 7.2 kW DC. The electric bill may call for a larger system, but the roof decides what can actually fit.
Example: 16 Panels Equals 6.4 kW
A roof that fits 16 panels at 400 watts per panel supports about 6.4 kW DC. That is a useful planning number when reviewing quotes or checking whether an installer’s proposal seems realistic.
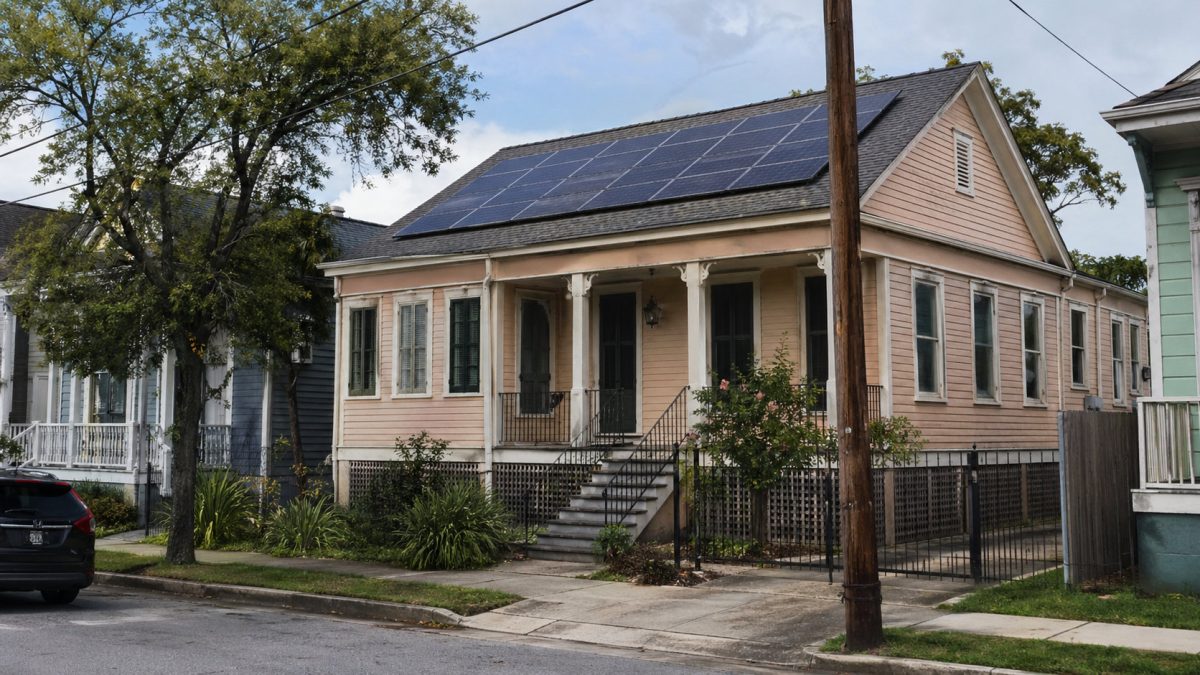
Still, do not lock onto the number too early. A contractor may reduce the design after checking setbacks, vents, shade, or panel dimensions. Another contractor may fit an extra panel or two by changing orientation or using a slightly different module. The count matters, but the reasoning behind the count matters more.
What Counts as Usable Roof Space
Clear, Sunny Roof Planes
The best roof area for solar is boring in the best possible way: broad, open, sunny, and rectangular. Those roof planes allow cleaner rows, simpler racking, and fewer compromises.
South-facing roof planes are often strong candidates in the U.S., but east- and west-facing planes can also be useful. For this article, the key point is practical: only count roof areas that can hold panels and produce enough power to justify using them.
A shaded section may be empty. It may even fit panels. That does not automatically make it good solar space.
Obstructions Reduce Panel Count
Vents, skylights, chimneys, plumbing stacks, dormers, satellite mounts, and attic fans all eat into usable roof area. They do more damage than their footprint suggests.
A single vent can break up a row. A skylight can split a strong roof plane into two awkward sections. A chimney can block space and cast shade. This is why a homeowner’s rough panel count often comes in higher than the installer’s layout.
From the ground, a roof may look open. From a layout view, it may be full of interruptions.
Small Sections Waste Space
Solar panels are rectangular. Roofs are often not. That mismatch matters.
A narrow strip of roof may have enough square footage on paper but still fail to fit a full panel row. A triangular hip section may look useful until the taper wastes the last few feet. A section beside a dormer may fit one panel but not enough to make a clean array.
For a better estimate, think in clear rectangles and workable panel blocks. Square footage alone is too crude.
Large Planes Fit More Panels
One large rectangular plane usually fits more panels than several smaller planes with the same combined area. Large planes waste less space at edges. They also give the designer more flexibility with portrait and landscape layouts.
A 500-square-foot open roof plane may support a strong array. Five separate 100-square-foot roof sections may not come close to the same result. The shape of the roof can be just as important as the size.
Panel Size Matters
400 W Panels Are Around 5.4 Ft
A typical 400-watt residential panel is roughly 5.4 feet long by 3.25 feet wide, or about 17.5 to 18 square feet. Exact dimensions vary by brand and model, and those small differences matter on tight roofs.
This explains why two installers may propose different counts for the same house. One may use a higher-watt panel that is slightly larger. Another may use a module that fits around vents or roof edges more cleanly. The better proposal is not always the one with the most panels.
Portrait vs Landscape Layout
Panels can often be installed in portrait or landscape orientation. Portrait means the long side runs up and down the roof slope. Landscape means the long side runs across the roof.
There is no universal winner. A short roof plane might lose a row in portrait but work in landscape. A wide roof plane may fit more columns in portrait. The only reliable answer comes from testing the module dimensions against the actual roof plane.
Smaller Panels Do Not Always Help
Smaller panels can help on tight roof sections or around obstructions. They can also disappoint if the wattage drops too much. More panels does not always mean more useful system size.
There is also a practical side. More modules can mean more attachment points, more wiring, and a busier design. That does not make smaller panels bad. It just means the design should be judged by usable capacity and roof quality, not panel count alone.
Higher-Watt Panels Add Capacity
Higher-watt panels can increase system size without increasing the panel count, especially when their dimensions are close to standard residential modules. If a roof fits 16 panels, a higher-watt module may raise the total DC capacity while using the same roof area.
But there is a catch. Some higher-watt panels are physically larger. On a tight or complicated roof, that can reduce layout flexibility. Before accepting a higher-capacity design, check both the wattage and the dimensions.
| Roof Layout Factor | How It Affects Panel Count | What To Check |
|---|---|---|
| Panel dimensions | Controls whether rows fit cleanly | Length, width, and orientation |
| Roof-plane shape | Determines how much area becomes stranded | Rectangular, triangular, narrow, or broken-up planes |
| Obstructions | Interrupts rows and racking paths | Vents, skylights, chimneys, dormers |
| Setbacks | Can remove edge or ridge rows | Local fire and access rules |
| Shade | Can make a physical panel location poor | Trees, chimneys, neighboring buildings |
The takeaway is blunt: panel count is a roof layout result. It is not just roof size divided by panel size. A clean 350-square-foot roof plane can be more useful than a larger roof broken into awkward pieces.
Setbacks and Access Paths
36-Inch Access Pathways
Some roof layouts must leave a 36-inch access pathway for fire or emergency access. The exact requirement depends on local rules, roof shape, slope, and array coverage. Still, the practical effect is simple: space that looked usable may have to stay open.
This matters most when the design fills a large portion of a roof plane. A layout can look fine in a rough sketch, then lose a row once access rules are applied.
18- or 36-Inch Ridge Setbacks
Ridge setbacks can also reduce panel count. Depending on the local requirement and layout, a roof may need 18 inches or 36 inches of clearance near the ridge.
That clearance can remove the top row on shorter roof planes. If the roof is just tall enough for three rows on paper, a ridge setback may turn it into a two-row layout. This is one of those details that does not show up in basic online calculators.
Local Fire Code Changes Layouts
Two similar houses can end up with different solar layouts because the local rules are different. Even within the same state, enforcement and interpretation can vary by jurisdiction.
That does not mean homeowners need to memorize fire code. It means the final panel count should come from a permit-ready layout, not a rough online estimate. Ask the installer what setback assumptions they used.
Online Estimates Miss Code Clearances
Online calculators are useful for getting started, but they often miss the details that change the roof layout: pathways, ridge setbacks, vents, skylights, roof edges, and awkward plane shapes.
Use them for a first pass. Do not use them as proof that a specific number of panels will fit.
In layout reviews, the biggest mismatch usually comes from counting roof area that cannot legally or practically hold panels. The roof may have enough square footage, but not enough clear, code-compliant rectangles.
Shade, Orientation, and Roof Quality
Shaded Locations May Not Count
A shaded roof section may fit panels perfectly and still be a poor choice. Shade from trees, chimneys, dormers, taller roof sections, or neighboring buildings can drag down production enough that the panel is not worth installing.
This is where maximum panel count can mislead people. A smaller system in better sun may be a stronger design than a larger system padded with weak locations.
South, East, and West Planes
South-facing roof planes are often strong solar candidates in many U.S. locations. East-facing planes can produce more earlier in the day. West-facing planes can produce more later in the day. The right mix depends on the site and the utility rate structure.
For estimating how many panels fit, separate the planes. Do not lump the whole roof together. A roof might fit 10 panels on the south side, 6 on the west side, and 4 on the east side. Those panels may not all have the same production value.
Count North-Facing Areas Separately
North-facing roof areas are usually weaker solar locations in much of the U.S., especially on steeper roofs. They may still be considered in some cases, but they should be counted separately from stronger planes.
If a quote uses north-facing roof space, ask why. There may be a good reason. There may also be an attempt to increase the panel count without adding much useful production.
Layout Quality Beats Maximum Count
A good solar layout does not cover every empty patch of roof. It uses the best roof areas first, respects access requirements, avoids poor shade zones, and keeps the design serviceable.
Leaving some roof space unused is not a failure. Sometimes it is the sign of a better design.
| Expectation | Roof Reality | Better Decision |
|---|---|---|
| Use the whole roof | Only clear, sunny, compliant areas count | Estimate by usable roof planes |
| More panels are always better | Weak locations may produce poorly | Compare production, not just count |
| Panel area equals roof area needed | Setbacks and gaps increase space needs | Use 20–30 sq ft per panel |
| All quotes should match | Different modules and assumptions change layouts | Ask for the layout basis |
The better comparison is not “Which quote has the most panels?” It is “Which quote uses the best roof areas and explains the design clearly?”
Examples by Usable Roof Area
200 Sq Ft: About 7–10 Panels
With 200 square feet of usable roof area, a practical planning estimate is about 7 to 10 panels. At 400 watts per panel, that equals roughly 2.8 kW to 4.0 kW DC.
That may be enough for a smaller system or partial offset. But the shape matters. One clean 200-square-foot roof plane is much more useful than four small sections scattered around the roof.
300 Sq Ft: About 10–15 Panels
At 300 square feet of usable area, the planning range is about 10 to 15 panels. With 400-watt panels, that is roughly 4.0 kW to 6.0 kW DC.
This is where obstructions start to matter a lot. One skylight or plumbing stack in the wrong location can break a row and push the final count toward the lower end.
500 Sq Ft: About 16–25 Panels
With 500 square feet of usable roof area, a reasonable planning range is about 16 to 25 panels. At 400 watts per panel, that is about 6.4 kW to 10.0 kW DC.
The range is wide because roof quality varies. A clean rectangular 500-square-foot plane may perform very differently from 500 square feet spread across hips, dormers, valleys, and mixed orientations.
These Are Planning Estimates
These numbers are not final designs. They are a way to keep expectations grounded before you compare solar quotes. A real design should account for exact panel dimensions, roof measurements, local setbacks, obstructions, and shade.
If an installer’s count is lower than your estimate, ask why. The answer should be specific. “The ridge setback removes the top row” is useful. “That is just what fits” is not.
| Usable Roof Area | Estimated Panel Count | Approximate Size at 400 W | Main Caution |
|---|---|---|---|
| 200 sq ft | 7–10 panels | 2.8–4.0 kW DC | Small sections may not fit full rows |
| 300 sq ft | 10–15 panels | 4.0–6.0 kW DC | Obstructions can reduce count quickly |
| 400 sq ft | 13–20 panels | 5.2–8.0 kW DC | Setbacks may remove edge or ridge rows |
| 500 sq ft | 16–25 panels | 6.4–10.0 kW DC | Shape and shade decide the real number |
Use the table as a rough planning tool. The final layout should show actual panel locations on the actual roof planes.
Common Estimating Mistakes
Using House Square Footage
House square footage is not roof area. Roof area is not usable solar area. Those are three different numbers.
A 2,000-square-foot house does not automatically have enough good roof space for a large solar system. Roof slope, orientation, hips, valleys, shade, and obstructions all change the answer.
The financial risk is usually indirect but real. If you assume the roof can hold a bigger system than it actually can, you may compare quotes badly, expect the wrong energy offset, or pressure an installer to use weak roof sections just to hit a target size.
Forgetting Setbacks and Edges
Panels cannot always run tight to the ridge, gutter, or roof edge. Fire access paths and setbacks may need to stay clear. Installers also need a layout that can be built and serviced safely.
If your estimate depends on filling a roof plane edge to edge, assume it is too optimistic. That kind of layout often changes once code clearances are applied.
Counting Shaded Areas
Shade is not a minor detail. It can turn a panel location from useful to questionable.
Counting shaded areas as usable roof space makes the design look better on paper than it will perform in the field. This matters during quote comparison. One proposal may include marginal shaded panels to show a larger system. Another may leave them off and show a smaller, cleaner design. The smaller design may be the more honest one.
Assuming Every Plane Works
Each roof plane should be judged separately. South, east, west, and north roof sections do not carry the same production value. A small triangular section near a hip does not behave like a clean rectangle.
When all roof planes are lumped together, the estimate usually gets inflated. Count by roof plane first. Then decide which planes are actually worth using.
Ignoring Obstructions
Small roof features can cause big layout changes. A vent in the middle of a plane can block a column of panels. A skylight can split an array. A chimney can remove space and cast shade.
- Check roof photos for vents, skylights, chimneys, dormers, and attic fans.
- Look for hips, valleys, and narrow roof strips that waste layout space.
- Separate sunny areas from shaded or seasonally shaded areas.
- Leave room in the estimate for setbacks and fire access paths.
- Ask installers to explain why their panel count differs from yours.
Overestimating panel count does not always create an immediate cost. The bigger problem is bad planning. If you expect 20 good panel locations and the roof really supports 14, the system size, production estimate, and quote comparison all change.
Checklist Before Solar Quotes
Measure Each Roof Plane
Measure or estimate each usable roof plane separately. You do not need survey-grade accuracy for a first pass. You do need to avoid mixing strong roof areas with weak ones.
A south-facing rectangle, a west-facing garage roof, and a shaded back slope should be treated as separate sections. Combining them into one number hides the real design limits.
Mark Obstruction Locations
Before you request quotes, identify visible obstructions. Use roof photos, satellite images, and anything you can see from the ground safely. Mark vents, skylights, chimneys, dormers, and attic fans.
The installer will verify the details, but doing this early helps you understand why the proposed layout may not match your rough estimate.
Note Each Roof Direction
Panel count should be tied to roof direction. If a quote uses multiple roof planes, ask how many panels are going on each side.
This makes proposal comparisons much clearer. A 20-panel design spread across weaker roof planes may not be better than a 16-panel design placed on stronger roof sections.
Identify Major Shade Sources
Look for trees, chimneys, dormers, taller roof sections, neighboring buildings, and utility poles. Also think seasonally. A tree that looks harmless in winter can cast a much larger shadow when it fills out.
Shade does not always eliminate a roof section, but it should change how you count it.
Save Photos or Satellite Images
Good photos make early layouts more realistic. Take wide shots of each roof plane and closer shots of obstructions or shade sources. Satellite images help too, but they can miss small vents, recent roof changes, or tree growth.
The more accurate the roof information, the less likely you are to get a proposal that changes later.
When Professional Layout Is Needed
Multiple Small Roof Planes
If the roof has many small planes, do not rely too heavily on square-foot math. Small planes lose space to hips, valleys, ridges, edges, and awkward dimensions.
A professional layout can show whether those sections actually fit complete panels or whether much of the area gets stranded.
Strict Setback Rules
If the design depends on placing panels close to ridges or edges, the layout should be checked against local setback rules. A 36-inch access path or ridge clearance can change the panel count quickly.
You do not need to know every code detail. You do need an installer who can explain which clearances were used in the design.
Seasonal Shade Problems
If trees, chimneys, or neighboring buildings shade the roof, get a layout that accounts for it. Physical fit is only half the question.
A panel that fits but sits in a weak shade zone may add cost and complexity without adding much useful production. That is not a roof-capacity win.
Maximum Size Before Quotes
If you need to know the largest realistic system size before comparing quotes, use a layout-based estimate. This matters for homes with high electric use, electric vehicles, heat pumps, or limited roof space.
A useful layout should show panel placement, panel count, system size, and which roof planes are being used. If a proposal gives a system size without showing where the panels go, it has not really answered how many solar panels fit on the roof.
FAQ
How many solar panels fit on an average roof?
Many residential layouts use roughly 300 to 500 square feet of roof space, but averages are only a starting point. A better planning benchmark is about 20 to 30 square feet of usable roof area per panel. The final count depends on roof shape, obstructions, setbacks, shade, and panel dimensions.
Can I cover my entire roof with solar panels?
Usually, no. Roof edges, ridges, access pathways, skylights, vents, chimneys, shade, and awkward roof shapes all limit usable space. A design that covers the roof too aggressively may also need to be changed during permitting or final layout review.
Why did my installer fit fewer panels?
The usual reasons are setbacks, shade, obstructions, roof-plane dimensions, and the physical size of the selected panel. Homeowner estimates often start with total roof area. Installer layouts work from clear, buildable, productive roof sections.
Do bigger panels mean fewer panels fit?
Sometimes. A higher-watt panel may increase total system size, but if it is physically larger, it may fit less cleanly on narrow or complicated roof planes. Always compare both wattage and dimensions.
How much roof space for a 6 kW system?
A 6 kW system using 400-watt panels needs about 15 panels. Using the 20 to 30 square foot planning benchmark, that usually means roughly 300 to 450 square feet of usable roof area before a final layout confirms the number.