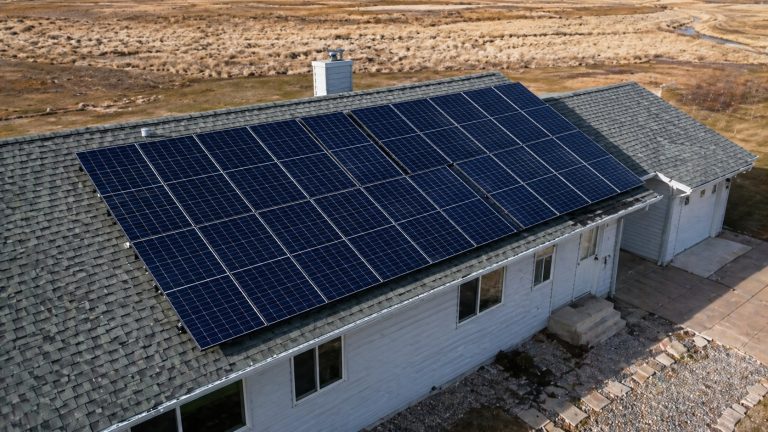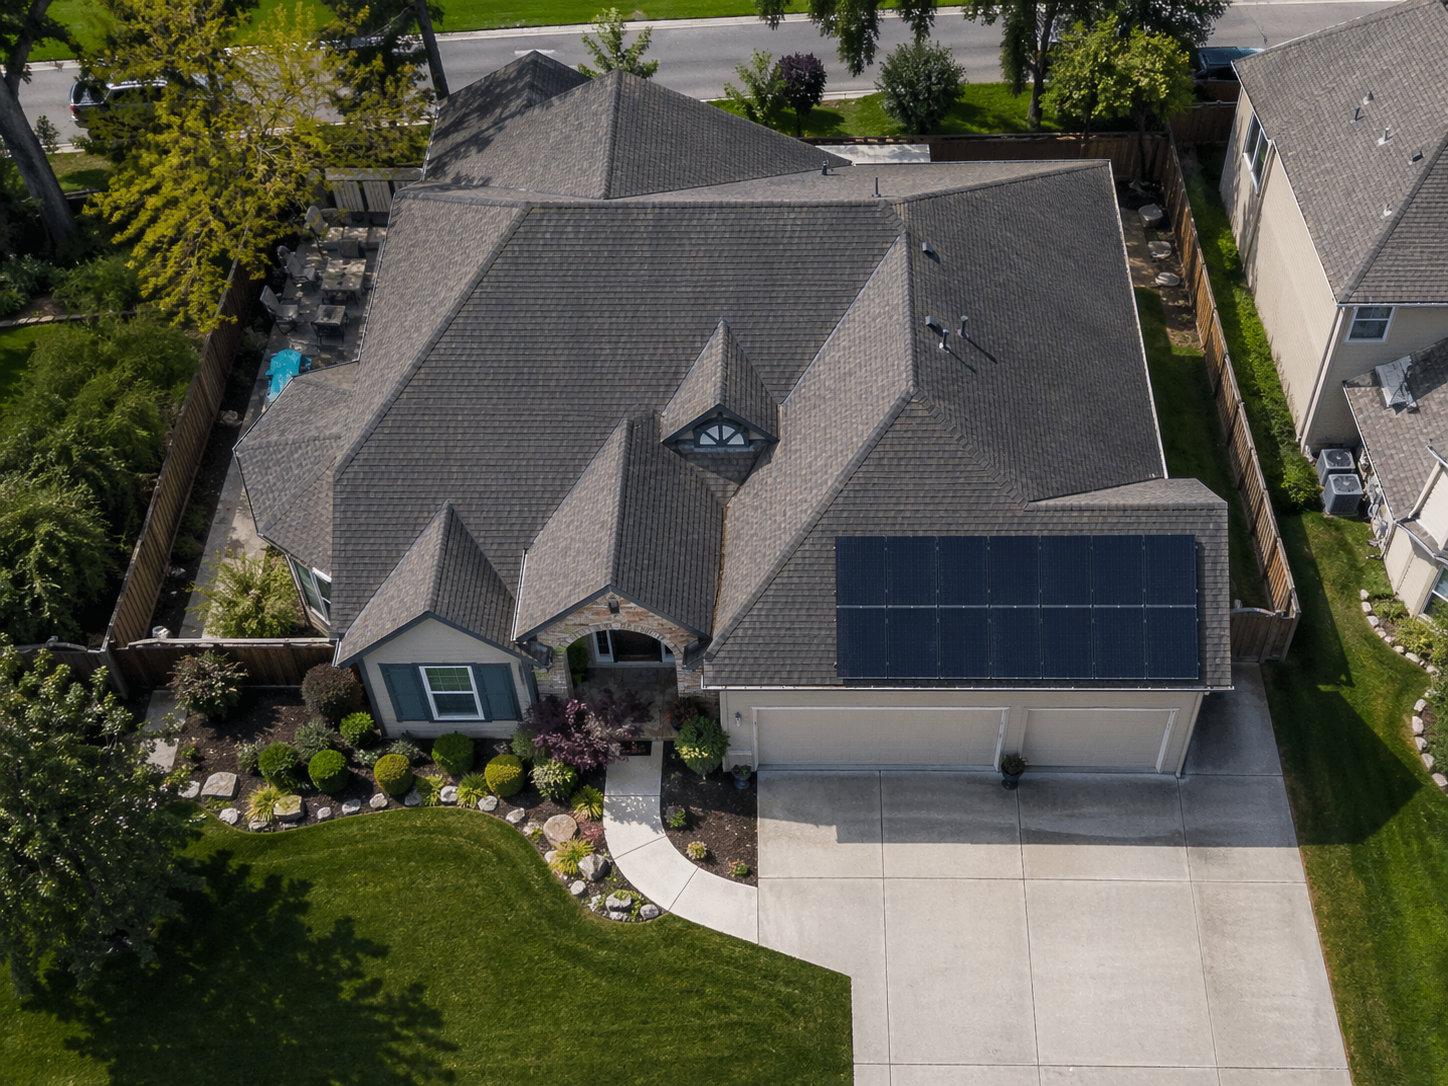
Solar Panels and Roofing Problems: Leaks, Damage, and Fixes
Quick Answer
Solar panels can lead to roofing problems when the roof penetrations, flashing, tile work, conduit seals, or mounting details are done poorly. The panels are rarely the first thing I blame. The weak point is usually the place where the solar hardware connects to the roof. A practical benchmark for removing and reinstalling panels so a roofer can access a leak is about $1,500 to $6,000, depending on array size, roof type, pitch, and how much of the system has to come off. The hard part is that you often cannot confirm the leak source from the ground. The right move is to document the damage, avoid touching the array, and get the solar installer, roofer, or both involved before someone makes the leak harder to prove or more expensive to fix.
Main Explanation
Why Solar Roof Problems Happen
Solar panels do not ruin a roof by default. A clean installation on a sound roof should keep water moving the way the roof was designed to move it. When problems show up, they usually come from the roof interface: the mounts, flashing, conduit penetrations, tile handling, or the condition of the roof before the system went on.
That distinction matters. A solar production problem is one thing. A roof leak under solar is a different problem entirely. The repair path may involve the solar installer, a roofer, an electrician, insurance, or some combination of those. Guessing wrong can cost money.
Penetrations and Flashing
Many rooftop solar systems attach to the roof structure with fasteners. Those attachment points need to be laid out correctly, drilled correctly, sealed correctly, and flashed correctly. Miss one of those steps and water may find the fastener path. It does not take twenty bad mounts to create a leak. One bad detail can be enough.
On asphalt shingles, flashing normally has to work with the shingle courses so water drains over the flashing instead of behind it. On tile roofs, the visible tile is not the whole waterproofing system. The underlayment below the tile often does the real leak protection. On low-slope roofs, the membrane is the critical layer, so any penetration, support, or conduit detail has to be treated carefully.
In the field, I do not start by blaming the panel. I start by asking where the roof was interrupted. Mounts, flashing, conduit, cracked tile, damaged shingles, and nearby roof features tell you much more than the module sitting above the stain.
Roof Materials Under Solar
Different roofs fail in different ways once solar is added. Asphalt shingles can leak around bad flashing, lifted tabs, torn shingles, or fasteners that were not sealed properly. Tile roofs are more vulnerable to breakage from foot traffic and poor mounting technique. Low-slope membrane roofs can have trouble around penetrations, ponding water, and incompatible repair methods.
This is not a full roof-material guide. For this topic, the important point is access and failure type. The roof material affects how the leak is found, how much solar equipment has to be moved, and whether a simple repair is even possible without removing part of the array.
Common Solar Roofing Problems
Ceiling Stains Below Panels
A ceiling stain below a solar array deserves attention. It does not prove the solar installation caused the leak, but it does put the mounts, flashing, conduit, and roof surface under that section on the short list.
Some leaks only show up during wind-driven rain. Water can get pushed under a lifted shingle, cracked tile, flashing edge, or conduit boot. Other leaks show up first in the attic as damp decking, dark trails, or wet insulation. By the time you see a ceiling stain, the water may have already traveled farther than you think.
Cracked Shingles or Tiles
Cracked roofing materials near a solar array are common enough that they should not be brushed off. Tile roofs are especially touchy. A tile can crack during installation or service, while the damage underneath stays hidden until the next heavy rain.
Asphalt shingles have their own problems. Lifted tabs, torn shingles, exposed fasteners, and poorly seated flashing can all create leak paths. A tube of sealant smeared over the visible crack may look like a repair. Often, it is just a delay.
Loose Rails or Mounts
Rattling rails, shifting hardware, or a mount that looks lifted should be inspected by someone who understands both the racking and the roof. Loose hardware can point to poor fastening, missed framing, movement in the roof assembly, or a compromised seal.

This is not a “tighten it and see” situation. Turning hardware from the roof surface without understanding the flashing detail can make the waterproofing worse. A solar contractor should review the mounting system. If there is any sign of moisture, a roofer should inspect the surrounding roof materials too.
Conduit Penetration Leaks
Solar wiring often enters the roof or attic through conduit. That opening needs the same respect as any other roof penetration. The hole size, flashing, sealant, and support all matter.
If water appears near conduit, junction boxes, or roof-entry points, treat it as both a roof issue and a solar safety issue. Do not open electrical boxes or move wiring to investigate. That is professional territory.
Blocked Drainage Under Panels
Leaves, pine needles, snow, and pest debris can collect under an array. On some roofs, that buildup slows drainage and keeps moisture sitting where it should not. Panels also hide the area, so the problem can go unnoticed.
This is usually not a panel defect. It becomes a roofing problem when trapped water repeatedly reaches weak flashing, cracked material, an aging shingle edge, or a roof transition that was already marginal.
Troubleshooting Safely
Start Inside the Attic
The attic is usually the safest place to begin. If access is safe, check during or shortly after rain. Look for wet decking, dark water trails, damp insulation, mold odor, or dripping near the solar mounting area.
Take photos before anyone moves anything. Photograph the ceiling stain, attic moisture, wet insulation, roof edges, and anything visible around the array. That documentation can matter later if the issue turns into a workmanship warranty, roof warranty, or insurance claim.
Compare Timing and Weather
Timing gives you clues. A leak that starts soon after solar installation raises questions about mounts, flashing, conduit, and installation workmanship. A leak that appears after hail, falling branches, or high wind may belong partly in an insurance claim. A leak that existed before solar may simply be harder to reach now.
Do not assume. A vent, chimney, skylight, valley, or old roof flashing can leak near the array and make the solar system look guilty. At the same time, do not let anyone dismiss the solar work without inspecting the actual mount and penetration details.
Do Not Disturb the Array
Do not loosen clamps. Do not pry flashing. Do not lift panels. Do not walk on modules. Do not start pulling roof materials apart to “take a quick look.” That quick look can create a new leak, crack tiles, damage wiring, or give a warranty provider a reason to push back.
- Photograph stains, attic moisture, and visible roof damage.
- Write down when the leak first appeared and what the weather was like.
- Check the solar workmanship warranty before repair work starts.
- Contact the solar installer before any panels are removed.
- Bring in a roofer if water is actively entering the home.
The point is to preserve evidence. Once hardware, flashing, or roof materials are disturbed, it gets harder to prove what failed first.
Who to Call First
Call the Solar Installer
If the leak showed up after the solar installation, call the solar installer first. They know the mounting system, wiring route, attachment layout, and workmanship warranty. They can also tell you whether part of the array needs to come off for inspection.
Ask for a written report, not just a quick verbal opinion. The report should identify the suspected leak area, affected mounts or penetrations, photos, and whether the issue appears related to installation work, roof condition, or storm damage.
Call a Roofer
Call a roofer when you see active dripping, wet decking, damaged shingles, cracked tiles, mold smell, or obvious roof deterioration. The roofer can assess the roof assembly, but that does not mean they should disconnect or remove solar equipment.
When the leak is directly under the array, coordination matters. The solar contractor handles safe panel removal and reinstallation. The roofer handles the roof repair. Mixing those roles without the right qualifications is where damage and warranty problems start.
Call Insurance When Needed
Insurance may come into play after hail, wind, falling branches, fire, or other covered events. Before temporary repairs, document the damage. If solar panels must be removed so the roof can be repaired, ask how removal and reinstallation will be treated in the claim.
Poor workmanship, bad flashing, or an old roof defect is usually a different story. Those issues are more likely to fall under an installer warranty, roofing warranty, or homeowner-paid repair.
Use Both Contractors
Many solar roof problems are best handled by two trades. The solar contractor protects the system. The roofer protects the roof. When one person tries to handle both without the right skill set, the repair can get messy fast.
| Situation | First Call | Why | Risk Level |
|---|---|---|---|
| Leak started after solar installation | Solar installer | Mounts, flashing, or conduit may be involved | Medium |
| Active dripping inside home | Roofer and solar installer | The roof needs attention, but panels may block access | High |
| Cracked tiles near array | Roofer | The roof material needs proper repair | Medium |
| Leak near conduit | Solar installer | The electrical roof penetration may be involved | High |
| Storm damage after hail or wind | Insurance, roofer, solar installer | The claim may involve both roof damage and solar access | High |
The practical rule: call the trade that owns the likely failure point, but do not let roof access turn into unauthorized solar removal.
When Panels Must Be Removed
Leaks Under the Array
Panels often have to be removed when the suspected leak source sits directly under the array. A roofer cannot properly replace flashing, shingles, tiles, or underlayment if the racking is blocking the work area. Working around the system may leave the real defect untouched.
Removal may also be needed when the leak affects a larger roof area. A ceiling stain may be small, but the repair might involve several mounts, a section of underlayment, or multiple damaged tiles.
Removal and Reset Costs
A typical removal and reinstallation range for roof repair access is about $1,500 to $6,000. Some service pricing uses a rough per-panel range of about $200 to $500, but that is only a planning number. Roof pitch, height, roof material, racking type, wiring layout, and how much of the array must be removed can change the final price.
This is why two similar leaks can have very different repair bills. A small asphalt shingle roof with easy access is one thing. A steep tile roof with a large array and difficult staging is another.
| Service Scenario | Typical USD Range | Main Cost Drivers | Notes |
|---|---|---|---|
| Basic diagnostic service call | $250-$500 | Travel, inspection time, troubleshooting depth | May not include roof repair |
| Roof leak repair with solar access | $360-$1,550 | Leak source, roof material, access difficulty | Can rise if panels block repair |
| Roof repair involving solar | $400-$1,950 | Roof damage, solar obstruction, labor coordination | May exclude array removal |
| Panel removal and reinstallation | $1,500-$6,000 | System size, roof type, wiring, racking | Common when repair is under array |
| Per-panel removal estimate | $200-$500 per panel | Panel count, pitch, access, complexity | Useful for rough planning only |
Use those numbers as a reality check, not a quote. The expensive part is often not the leak itself. It is the access, removal, reset, and coordination required to fix the leak correctly.
Warranty and Access Issues
Panel removal can create warranty trouble if the wrong person does it. Many workmanship warranties assume the system has not been altered by an unauthorized contractor. A good roofer may still be the wrong person to disconnect or reinstall the array.
Before anything comes off, confirm who will shut the system down, remove modules, protect wiring, store equipment, reinstall hardware, and verify the system afterward. Get it in writing. Handshake coordination is not enough when water damage and solar equipment are both involved.
Risks, Mistakes, and Limits
Surface Caulk Repairs
A common bad fix is smearing sealant around a mount or flashing edge without finding the leak path. It feels like progress. It may even slow the leak for a while. But if the flashing is wrong or the roof material is damaged, surface caulk is usually not the real repair.
Roof waterproofing relies on drainage and layering. Sealant can help within the right detail, but it should not be the main defense against water at a roof penetration.
Unapproved Panel Removal
Letting a roofer remove panels just to move the job along can get expensive. Connectors, clamps, grounding parts, wiring, and module frames can be damaged. The system may also need troubleshooting after it goes back on.
The financial risk is bigger than the roof patch. The homeowner may end up paying for solar service, replacement hardware, reinstallation labor, and a disputed warranty claim. That sounds cheaper upfront, but it often backfires.
Delayed Leak Response
A small stain can hide a larger moisture problem. Wet insulation, stained decking, and mold odor may develop before water starts dripping into the room. Solar panels can make the leak harder to spot from above, so delays are risky.
Fast documentation and inspection usually cost less than waiting. In many service calls, the leak is not the most expensive part. The expensive part is what happened while nobody could see it.
Wrong Blame Assignment
Not every leak near solar is caused by solar. Vents, chimneys, skylights, valleys, dormers, and old flashing can leak in the same general area. Blaming the array too quickly can send you after the wrong repair.
The opposite mistake is just as bad. A contractor may blame an old roof without checking the mounts. A useful inspection separates roof-material failure, solar workmanship, storm damage, and unrelated roof defects.
| Expectation | Reality | Practical Risk |
|---|---|---|
| The leak is directly below the bad mount | Water can travel along decking or framing | The stain may not mark the source |
| A roofer can patch it quickly | Panels may block the repair area | Removal and reset costs may apply |
| Caulk will stop the leak | Failed flashing often needs proper correction | The leak can return after the next storm |
| The solar installer is always responsible | Storm damage or old roof defects may be separate | Warranty claims may be denied without evidence |
The best repair starts with evidence. Find the path, document the condition, and assign the work to the right contractor.
Proper Solar Roof Inspection
Mount-by-Mount Review
A real inspection checks the mounts, flashing, fasteners, roof contact points, conduit penetrations, and nearby roof materials. The inspector should look for lifted flashing, cracked tile, damaged shingles, exposed fasteners, rust, loose hardware, missing sealant where sealant is part of the approved detail, and debris buildup.
On shingle roofs, flashing placement is critical. On tile roofs, the hidden underlayment deserves attention. On low-slope roofs, the membrane condition, drainage, and flashed supports matter more than what can be seen from the ground.
Attic Moisture Check
The attic often tells the truth before the roof surface does. Water staining, damp insulation, mold smell, and dark trails on decking can help trace the direction of travel. Checking during or soon after rain gives the best chance of seeing active moisture.
Photos from inside and outside the home are useful. If the issue becomes a warranty or insurance matter, clear documentation beats memory every time.
Electrical Safety Review
Water near solar conduit, junction boxes, or roof penetrations should be handled carefully. Homeowners should not open boxes, move wires, or try to trace electrical components while investigating a leak.
This is why a solar roof leak is not always a normal roofing call. The repair area may involve waterproofing and electrical equipment. The trades need to stay in their lanes and coordinate.
Written Findings
Ask for written findings. A useful report identifies the suspected leak source, the affected roof area, whether panels must be removed, recommended repairs, and which contractor should handle each part of the job.
The wording matters. “Water staining is visible below the third row of the array” is stronger than “solar caused the leak” with no proof. Facts first. Blame later.
Preventing Repeat Problems
Repair Before Reinstalling
If panels come off, fix the roof properly before they go back on. That may mean replacing damaged shingles, broken tiles, failed flashing, compromised underlayment, or wet decking. Reinstalling solar over a questionable repair is asking for another service call.
Photograph the repaired area before the array is reinstalled. Once the panels are back in place, the most important details may be hidden again.
Use Proper Flashing
Long-term leak prevention depends on correct flashing and roof layering. On asphalt shingles, flashing has to work with the shingle courses. On tile roofs, the waterproofing under the tile matters. On low-slope roofs, membrane-compatible details are critical.
If a proposed repair is mostly exterior sealant, ask how water will be directed away from the penetration after years of heat, rain, wind, and roof movement.
Check After Storms
After hail, heavy rain, wind, snow, or falling debris, check from safe areas only. Look for new ceiling stains, attic moisture, displaced tiles, loose debris, or water trails. Do not climb onto the array to inspect it yourself.
If damage is visible or water is active, get a professional inspection. A storm claim involving solar may need roof documentation and solar access planning.
Keep Records Together
Keep solar contracts, roof warranty papers, workmanship warranty details, inspection reports, service invoices, permits, and photos in one folder. When a leak appears years later, paperwork can shorten the argument.
This also matters when buying a home with solar. A clean record of installation, repairs, inspections, and warranty transfers makes hidden roof risk easier to evaluate.
FAQ
Can solar panels cause roof leaks?
They can be involved, but the panel itself is usually not the leak source. The common problem areas are mounts, flashing, conduit penetrations, cracked tiles, damaged shingles, and poor workmanship. The leak path should be confirmed before anyone assigns blame.
Who fixes a leak under solar panels?
If the leak appears tied to solar mounts, flashing, conduit, or installation workmanship, the solar installer should inspect it. If roof materials are damaged, a roofer should be involved. If the repair area is under the array, both contractors may be needed.
Can a roofer repair under panels?
A roofer can repair the roof, but they may not be qualified or authorized to remove solar panels. If panels block the leak area, a solar professional may need to remove and reinstall them so the roofer can make the repair correctly.
Will panel removal void my warranty?
It can if the system is removed or altered by someone who is not authorized. Check the solar workmanship warranty, equipment warranty, and roof warranty before anything is detached. Get the removal and reinstallation scope in writing.
How urgent is a small stain?
A small stain is worth quick attention, especially below a solar array. The visible mark may be the end of a hidden path through decking, insulation, or flashing. Document it, check safe interior areas, and schedule an inspection before the damage spreads.